How to Store and Display Finds (Without Damaging Them)
As an Amazon Associate we earn from qualifying purchases. Some links on this page are affiliate links, which means we may earn a small commission if you make a purchase.
Three common storage enemies threaten metal detecting finds long after they’re out of the ground. Humidity encourages a powdery green corrosion known as bronze disease on copper alloys. Direct sunlight bleaches organic materials and fades the subtle colours on ancient surfaces. Acidic off-gassing from cheap foam or cardboard can etch metal over time. A proper storage system isn’t just about tidiness; it’s a physical barrier against these specific, identifiable causes of decay.
The mistake many make is using a one-size-fits-all container. This guide outlines a two-track approach: one method for your best display pieces and another for the bulk of your collection. Each uses different materials and techniques to prevent damage and, crucially, preserve the story of where each object was found.
Why a Two-Track System Works
Think of your collection as having two distinct purposes. One part is for show—the historical finds you want to appreciate. The other is for record-keeping—the reference material that supports your hobby. Mixing these goals in a single box creates a mess where items rub against each other and lose their identity.
A cabinet overflowing with mixed-quality objects is hard to look after and lessens the impact of your best discoveries. On the other hand, storing everything out of sight means you never get to enjoy what you’ve uncovered. The two-track system brings order.
Here’s how it breaks down:
- Curated display: Your most interesting, well-preserved finds. These are handled with care and shown in a way that protects them while allowing them to be seen.
- Bulk storage: Common buttons, buckles, musket balls, and unidentified items. These need protection from physical damage and a system that stops them from becoming anonymous.
According to the NCMD Code of Conduct, a detectorist acts as a steward of objects.1 Proper storage preserves the information attached to each find, which is often as historically valuable as the object itself.
The essential rule is to keep display-quality items separate from bulk storage. A single container holding everything is a recipe for scratched surfaces, accelerated corrosion, and finds that can no longer be linked to their discovery site.
Set this system up from the beginning. Getting the framework right from the start saves you from the frustrating task of trying to identify a pile of unlabelled objects later.
Before organising your finds, make sure your detecting activities are on a solid legal footing. Get the Free Metal Detecting Permission & Reporting Checklist to confirm you have landowner permission properly sorted.
Choosing the Right Container for the Material
Different finds have different needs. The right container addresses the primary risk for that type of object.
For coins, the most effective solution involves writing directly onto the storage surface. This could be a cardboard insert or a dedicated coin tray. The information—find location, date, and a tentative identification—becomes permanently attached. This method solves the problem of provenance loss far more reliably than a separate notebook.
For non-coin bulk finds like buttons and musket balls, the critical factor is physical isolation. Storing items like musket balls together in a bag leads to surface scratches over time as they knock against one another. Small glass jars with a soft base or compartmentalised boxes provide the necessary protection.
Each method involves a trade-off. Writable cardboard inserts are excellent for record-keeping but aren’t designed for visual appeal. Glass jars protect against abrasion but lack integrated labelling. The goal is to match the container to the item’s specific needs.
A comparison of storage mechanisms:
| Cardboard inserts with writable surface | Glass jar / isolated compartment | |
|---|---|---|
| Secure storage | Good for coins — protective, space-efficient | Excellent for non-coins — abrasion eliminated |
| Identification / record-keeping | Excellent — you write on the surface | Poor — no labelling mechanism built in |
| Visual display | Poor — designed for storage, not show | Good for bulk items but not curated display |
Coins belong in labelled inserts. Bulk non-coin finds are safest in isolated compartments. Your display pieces deserve a dedicated cabinet.
Protecting Display Finds from Environmental Damage
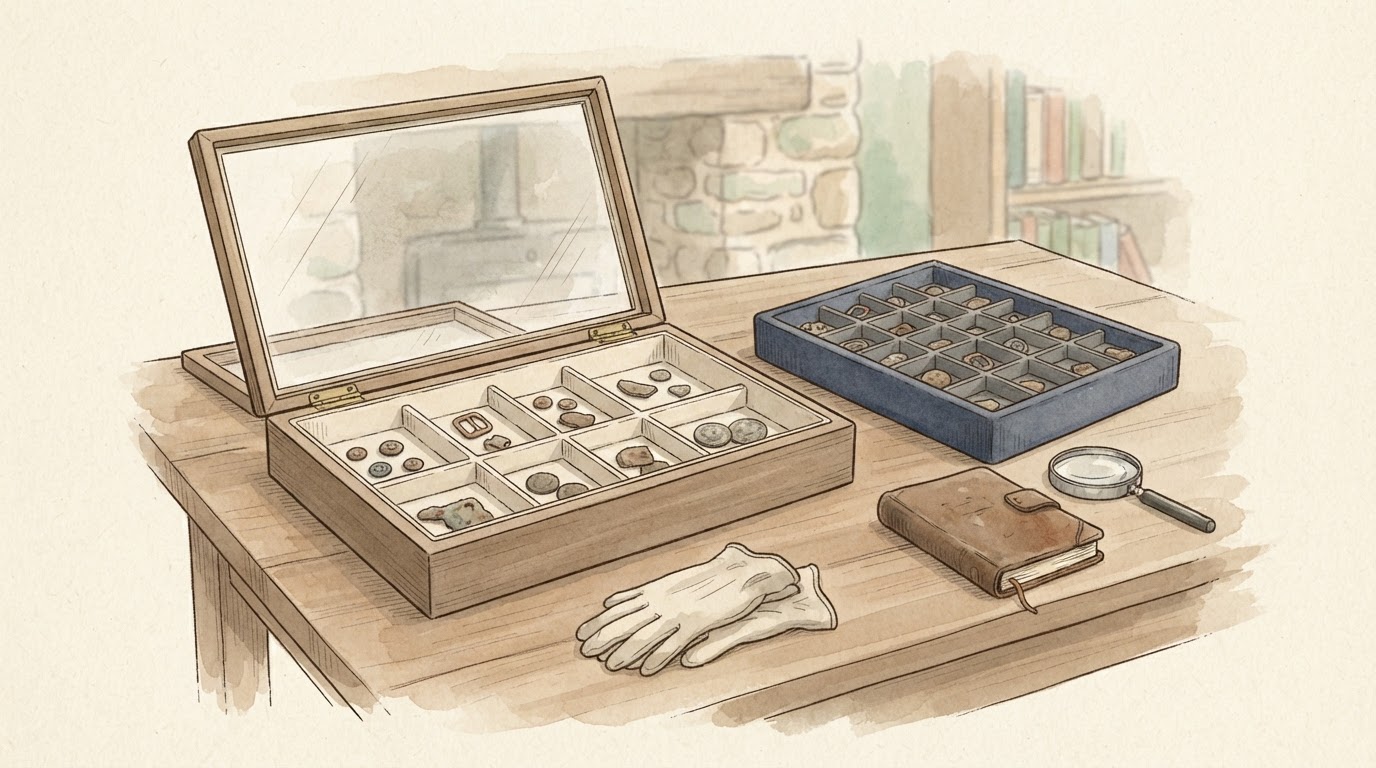
A display case should do more than look good; its main job is to protect. A well-chosen cabinet shields finds from dust and helps stabilise the local environment, reducing humidity fluctuations that cause corrosion. One chosen purely for looks may offer little real protection.
Look for a glass or acrylic front that provides a reasonable seal, and keep it out of direct sunlight. Prolonged exposure to light, particularly UV, is a known risk to many surfaces, including the patina on metals.2 The stable surface you’ve worked to preserve can be degraded by light over time.
Be selective about what goes inside. A display with a few well-chosen, clearly labelled pieces has more impact than a crowded case. Quality over quantity always wins.
Practical guidelines for display:
- Use soft cloth or acid-free paper as a base to prevent scratches.
- Clean finds gently before display, but only after photographing them as found.
- Avoid abrasive cleaners or wire brushes that strip away identifying surface details.
- Don’t let finds touch each other in the case, as this causes micro-abrasion.
If you have a find that could be treasure under the Treasure Act 1996, do not clean or restore it before consulting your local Finds Liaison Officer.3 Cleaning can remove crucial evidence. An uncleaned coin with intact patina and soil context is easier for the FLO and the British Museum to assess.
For detailed advice on cleaning techniques, see our guide to cleaning finds without damaging them .
The Link Between Labelling and Long-Term Value
Provenance—the record of where and when an object was found—turns a simple artefact into a piece of documented history. Labelling is what preserves this link.
For finds in cardboard inserts, write directly on the surface: grid reference or field name, date, and a provisional identification. Even an uncertain note like “unidentified — possibly Georgian?” is valuable. For items in jars, attach a small tag to the outside. The label must stay with the object.
A basic labelling protocol for each find:
- Grid reference or field name
- Date of find
- Detector coil size and settings if unusual
- Provisional identification
- Any notable context (e.g., near a wall, at unusual depth)
For potential treasure, your first priority is reporting. The reporting obligation under the Treasure Act 1996 requires you to report to the local coroner within 14 days and contact your Finds Liaison Officer promptly.4 Address the legal duty before considering long-term storage.
Storage Methods at a Glance
| Storage Mechanism | Best For | Key Benefit |
|---|---|---|
| Cardboard inserts with writable surface | Coins | Permanent record of location and date directly on the container |
| Glass jar / isolated compartment | Non-coin bulk finds | Eliminates abrasion and chemical reactions between items |
| Display cabinet | Curated display pieces | Protects from dust and regulates humidity |
| Acid-free paper / cloth pouches | General storage | Breathable options that prevent moisture trapping |
| Soft cloth base | Cabinet interiors | Prevents surface marks and scratches on finds |

Creating a Lasting Record
Good storage is invisible, but the reward is a cabinet where every find still carries the when-and-where of its recovery. That visible story is what separates a collection from a box of old metal. The right storage tools are what keep the reporting side of each find’s story complete.
This two-track system is simple to implement. Basic cardboard coin inserts are affordable and solve the identification problem. Glass jars or compartmentalised boxes protect bulk finds from abrasion. Choose a display cabinet for its protective qualities first.
The most effective system is the one you use consistently. A professional case is useless if it remains empty while finds sit in a shoebox. Start with the basics: separate containers, reliable labelling, and a clear distinction between display and storage.
Before your next outing, ensure your permissions are in order. The free checklist covers the essential agreements with landowners.
Get the Free Metal Detecting Permission & Reporting Checklist
Further Reading and Official Sources
- Portable Antiquities Scheme (PAS) – The official scheme for recording archaeological finds in the UK.
- National Council for Metal Detecting (NCMD) – A metal detecting organisation offering guidance and insurance.
- Treasure Act 1996 – The full text of the law governing treasure finds in England, Wales, and Northern Ireland.
This article provides general guidance. For specific conservation or legal advice concerning finds, consult a Finds Liaison Officer or other qualified professional.
The NCMD Code of Conduct emphasises the detectorist’s role as a steward. Landowner permission is required, and treasure must be reported. Source: https://www.ncmd.co.uk/code-of-conduct/ ↩︎
Light exposure is a known risk factor in the conservation of many materials, including metals. General conservation guidance advises limiting light exposure to preserve surfaces. ↩︎
PAS guidance recommends contacting your FLO for potential treasure before any cleaning is undertaken. Source: https://finds.org.uk/ ↩︎
The Treasure Act 1996 requires reporting potential treasure to the coroner within 14 days. Source: https://www.gov.uk/treasure ↩︎